Usually, every year, we make some DIY christmas tree decorations… the first year was colored drawings. The second year was making shiny balls… this one didn’t go so well, because at that age (3 years old), Aina wasn’t strong enough to push the small pins into the styrofoam balls. But if you want to see how it went, the story is in my personal blog. The third year was the most successful: stuffed felt decorations… she has learned how to sew and she had a lot of fun with the felt…
Too bad, last year we didn’t continue the tradition, because we went to Jakarta for Christmas and had the whole three weeks of holiday there.
This year, I ran out of ideas on what to make. Aina is much better at sewing, and has been making stuffed felt a lot lately (gifts for grandparents and all). So making stuffed felt isn’t new anymore.
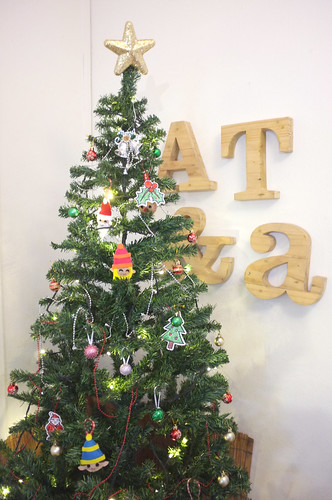
When we put up the Christmas tree a few days ago, we realized that we didn’t have any stars to put on top of the tree. So, there we go: this year’s Xmas tree project would be the gold star!
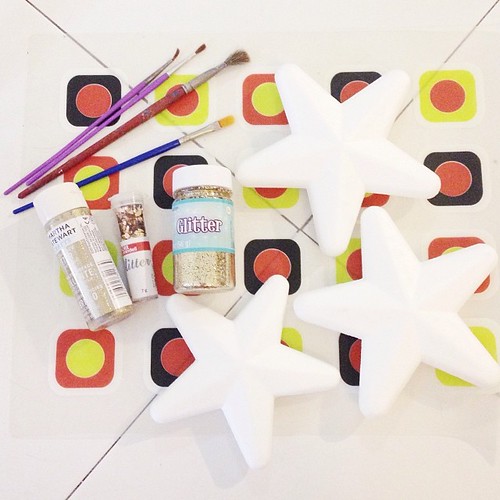
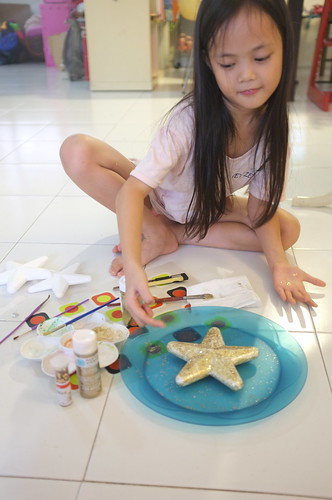
We were lucky that the nearby Art Friend has star-shaped styrofoam. It’s light and paintable… perfect. We also got a bottle of gold glitter paint, a bottle of free gold glitter, and heart-shaped glitter.
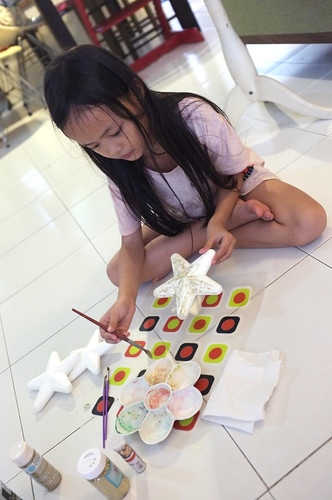
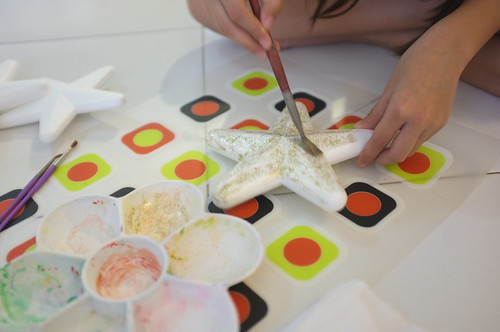
We then painted the star with the glitter paint. the glitter paint would not immediately cover everything with glitter, so we had to do a few coats of it.
Before it dried, we sprinkled it with gold glitter and put the heart-shaped glitter all over the wet-paint, so they stick to the star… then we let it dry for about half an hour. Then we repeated the process again: paint, sprinkle, dry… it took us 3 coats to get the star evenly coated with the glitter.
Then, I stuck a green wire (those used in flower-making) on to the star… and I learned my lesson: I should’ve stuck the wire BEFORE doing the painting and the glittering…
- To avoid glitter-transfer. I had to hold the star firmly to stick the wire into the styrofoam, and this caused the glitter paint to stick to my hands, and I had to repatch the bald spots on the star after the wire was done.
- The wire could have been used as a handle during the painting and sprinkling sessions too, much like cooking a kebab. Cleaner hands and easier to paint!
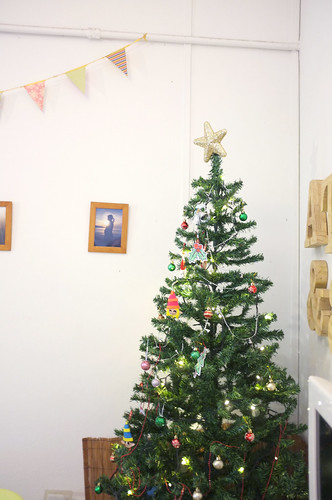
Anyways, after doing some repatching, the star went up on the tree. And it looks pretty nice. 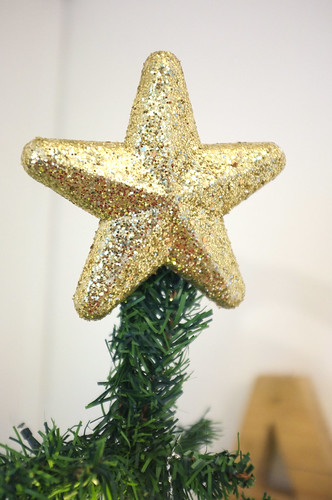
But now, the glitter got everywhere… no matter how many times I vacuumed, I could still find them all over the house. the carpet, the sofa and the bed are glitter-infected. It’s in Aina’s hair, on the back of my arms and on Koda’s nose… it’s everywhere…






otie - sebenernya sih bikin pake karton juga bisa kok :)
chika, eka & ninit - hehehe, iya, aina udah gondrong bangeeet!
kereeen thal!
suka deh! nice xmas tree-nya. gold star-nya juara!
aina pinter ya, rapi banget bikin2nya. cantik deh gold starnya!
dan iyaa..rambutnya udah panjang banget, anak gadis :*
Simple dan gampang ya thal, tapi pe er bersihin glitternya :)))
btw rambut aina udah panjang bgt!
Wah! Kebetulan! My Christmas tree doesn't have any stars to put on top of the tree either... Pengen bikin.. tapi masalahnya, beli star-shaped styrofoam di mana ya di Jakarta...??