The Mid-Autumn Festival is a popular lunar harvest festival celebrated by Chinese and Vietnamese people. In Singapore, this is also a celebration with mooncakes and lanterns! This year the festival is held on 30th Sep and everyone was making -- or buying -- lanterns. So, we made a quick and easy lantern ourselves... (Actually, we stole the idea from Aina's Chinese teacher, who's very crafty and creative!)
It's very simple to make. you need:
- Two disposable plastic bowls. we prefer the non-translucent, but couldn't find any with good shape. So we ended up with the translucent one.
- Red embroidery floss
- Golden thread
- Large bead. We wanted a green bead to make it look like jade, but we ended up using a wooden bead from ari's old bracelet.
- Battery & lightbulb. We bought a small flashlight at Daiso. $2 :)
- A disposable chopstick
- A piece of paper to cover the flashlight. We won't be needing this if the plastic bowls were opaque.
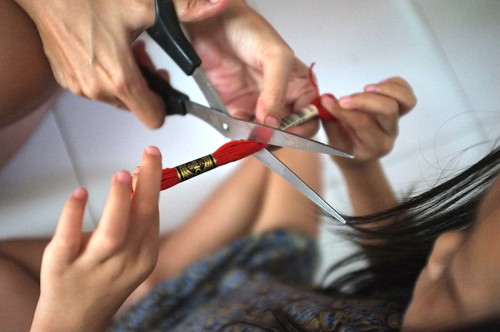
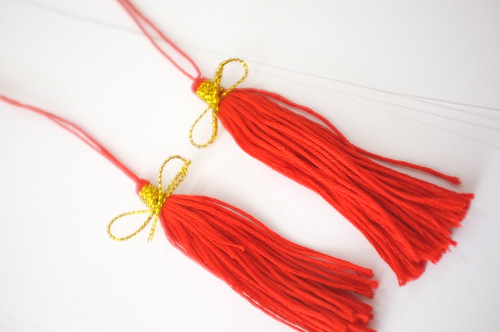
First we made the tassles. I have a few rolls of DMC 6-strands embroidery floss, which I cut right in the middle...
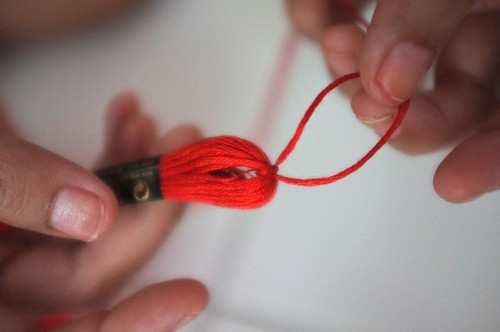
Pull about 1 meter of the floss from another roll, and tie the cut floss right in the middle, like the picture below. This strand needs to be long because it will be the strand that hold the lantern together.
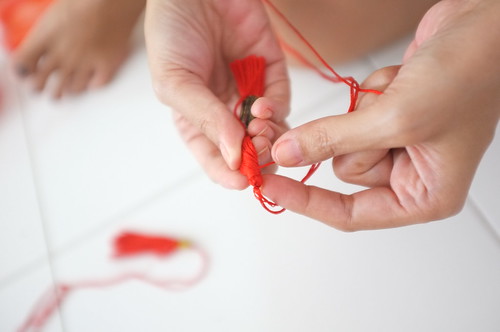
Next, wrap another strand of the red embroidery floss around the tassle to keep the tassle going one direction. And you can use the golden thread for wrapping to make it pretty.
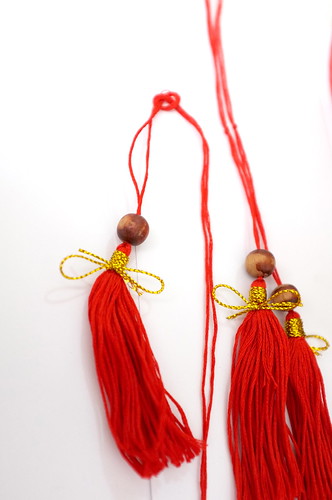
Add the bead on top of the tassle. A green bead works better to make it look like jade, but we didn't have green beads... So old wooden beads from Ari's bracelet will do for now.
Then, don't forget to make a knot on the red floss about 10 cm from the bead.
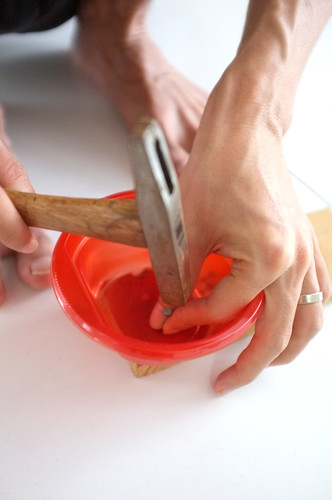
While I made the tassles, Ari made two holes on the bottom of each plastic bowl using a hammer and nail.
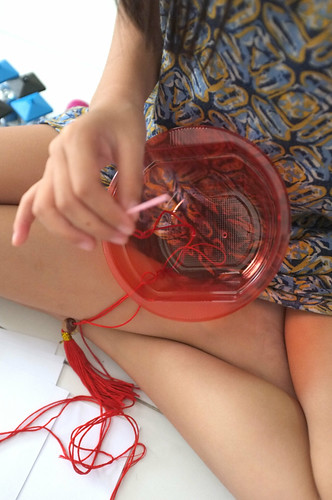
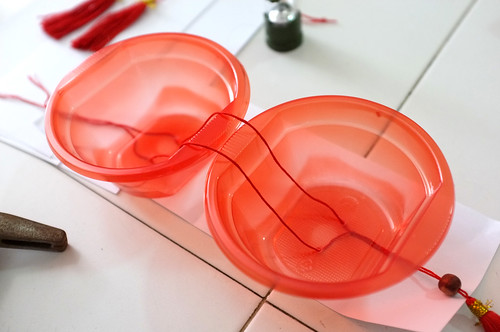
Once the tassle and bowls are done, Aina sew the floss through the bowls, starting from the bottom bowl.
Before closing the lantern, we glued the flashlight to the bottom bowl and turned it on. Then, we wrapped a piece of paper around the flashlight loosely and close the top bowl. to keep it closed, we taped the 2 sides of the bowls.
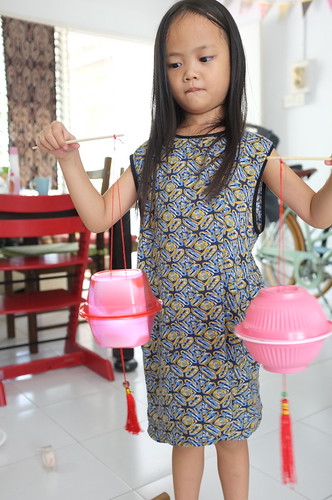
To attach the chopstick onto the floss, first make a knot to close the loop. Then, we just tape the floss onto the chopstick so that the lantern doesn't move around while being carried.
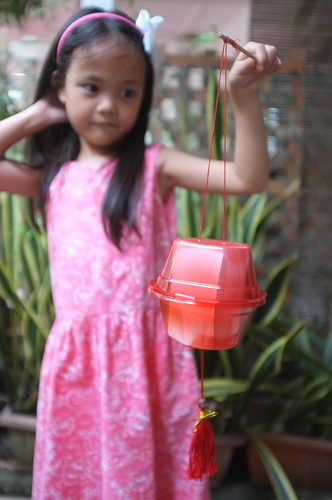
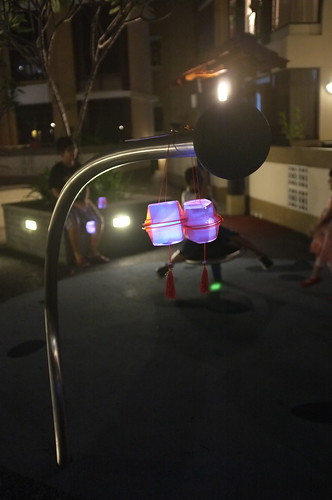
And it's done!
The right one is the lantern with opaque bowl and prettier shape. Cute, no?
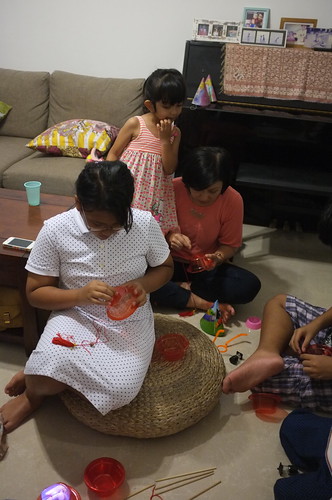
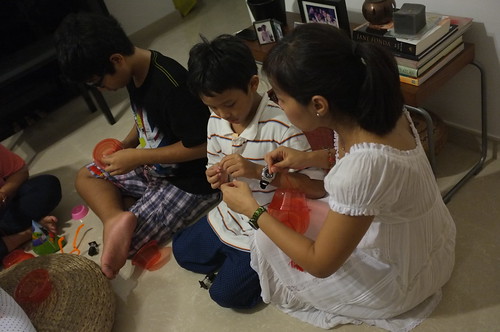
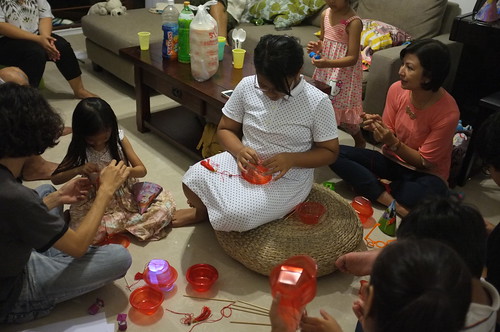
And you can do it together with your friends too... The tassle part may have to be done by adults (or buy the tassles in stores), but the lantern construction is pretty easy and a family-fun project to do :)




seru banget, kreatif!
bahannya juga mudah didapat.
tfs Binggi :)
seruuu banget bikinnya.. ternyata emang gampang bikinnya loh!
yay, testimonial dari yang ikutan bikin :D
Thal, kalian sekeluarga kreatif abis dan telaten... TOP!!!
hihihi, makasii fan! hobi sih... lagian ngisi waktu biar si anak ga rewel :P
selalu kagum sama hasil karya binggi dan Aina. Kreatiiip sekaliiii.. *bookmark*
makasii mama kira kara! siapa tau kalo si kembar udah gede, mau bikin beginian :D
wiih..lucu2 banget! pake mangkok warna warni gitu ya, canggih ih binggi!
Bikinnya rame2 gitu seru ya :)
iya, ternyata mangkok mirip ama lantern. hihihi. yah, murmer deh bahannya :D